Hi there!
If you've ever wanted to make your website go against the usual straight sections, this post is DEFINITELY for you. So get ready for the simple way to get an Angled/Skewed section on your page.
- Open webflow and create a new site. Then enter the Designer View.

- Drag in a div or section and style it. Make sure that the parent element of the section is set to Overflow: None. Try to use padding to make it responsive.
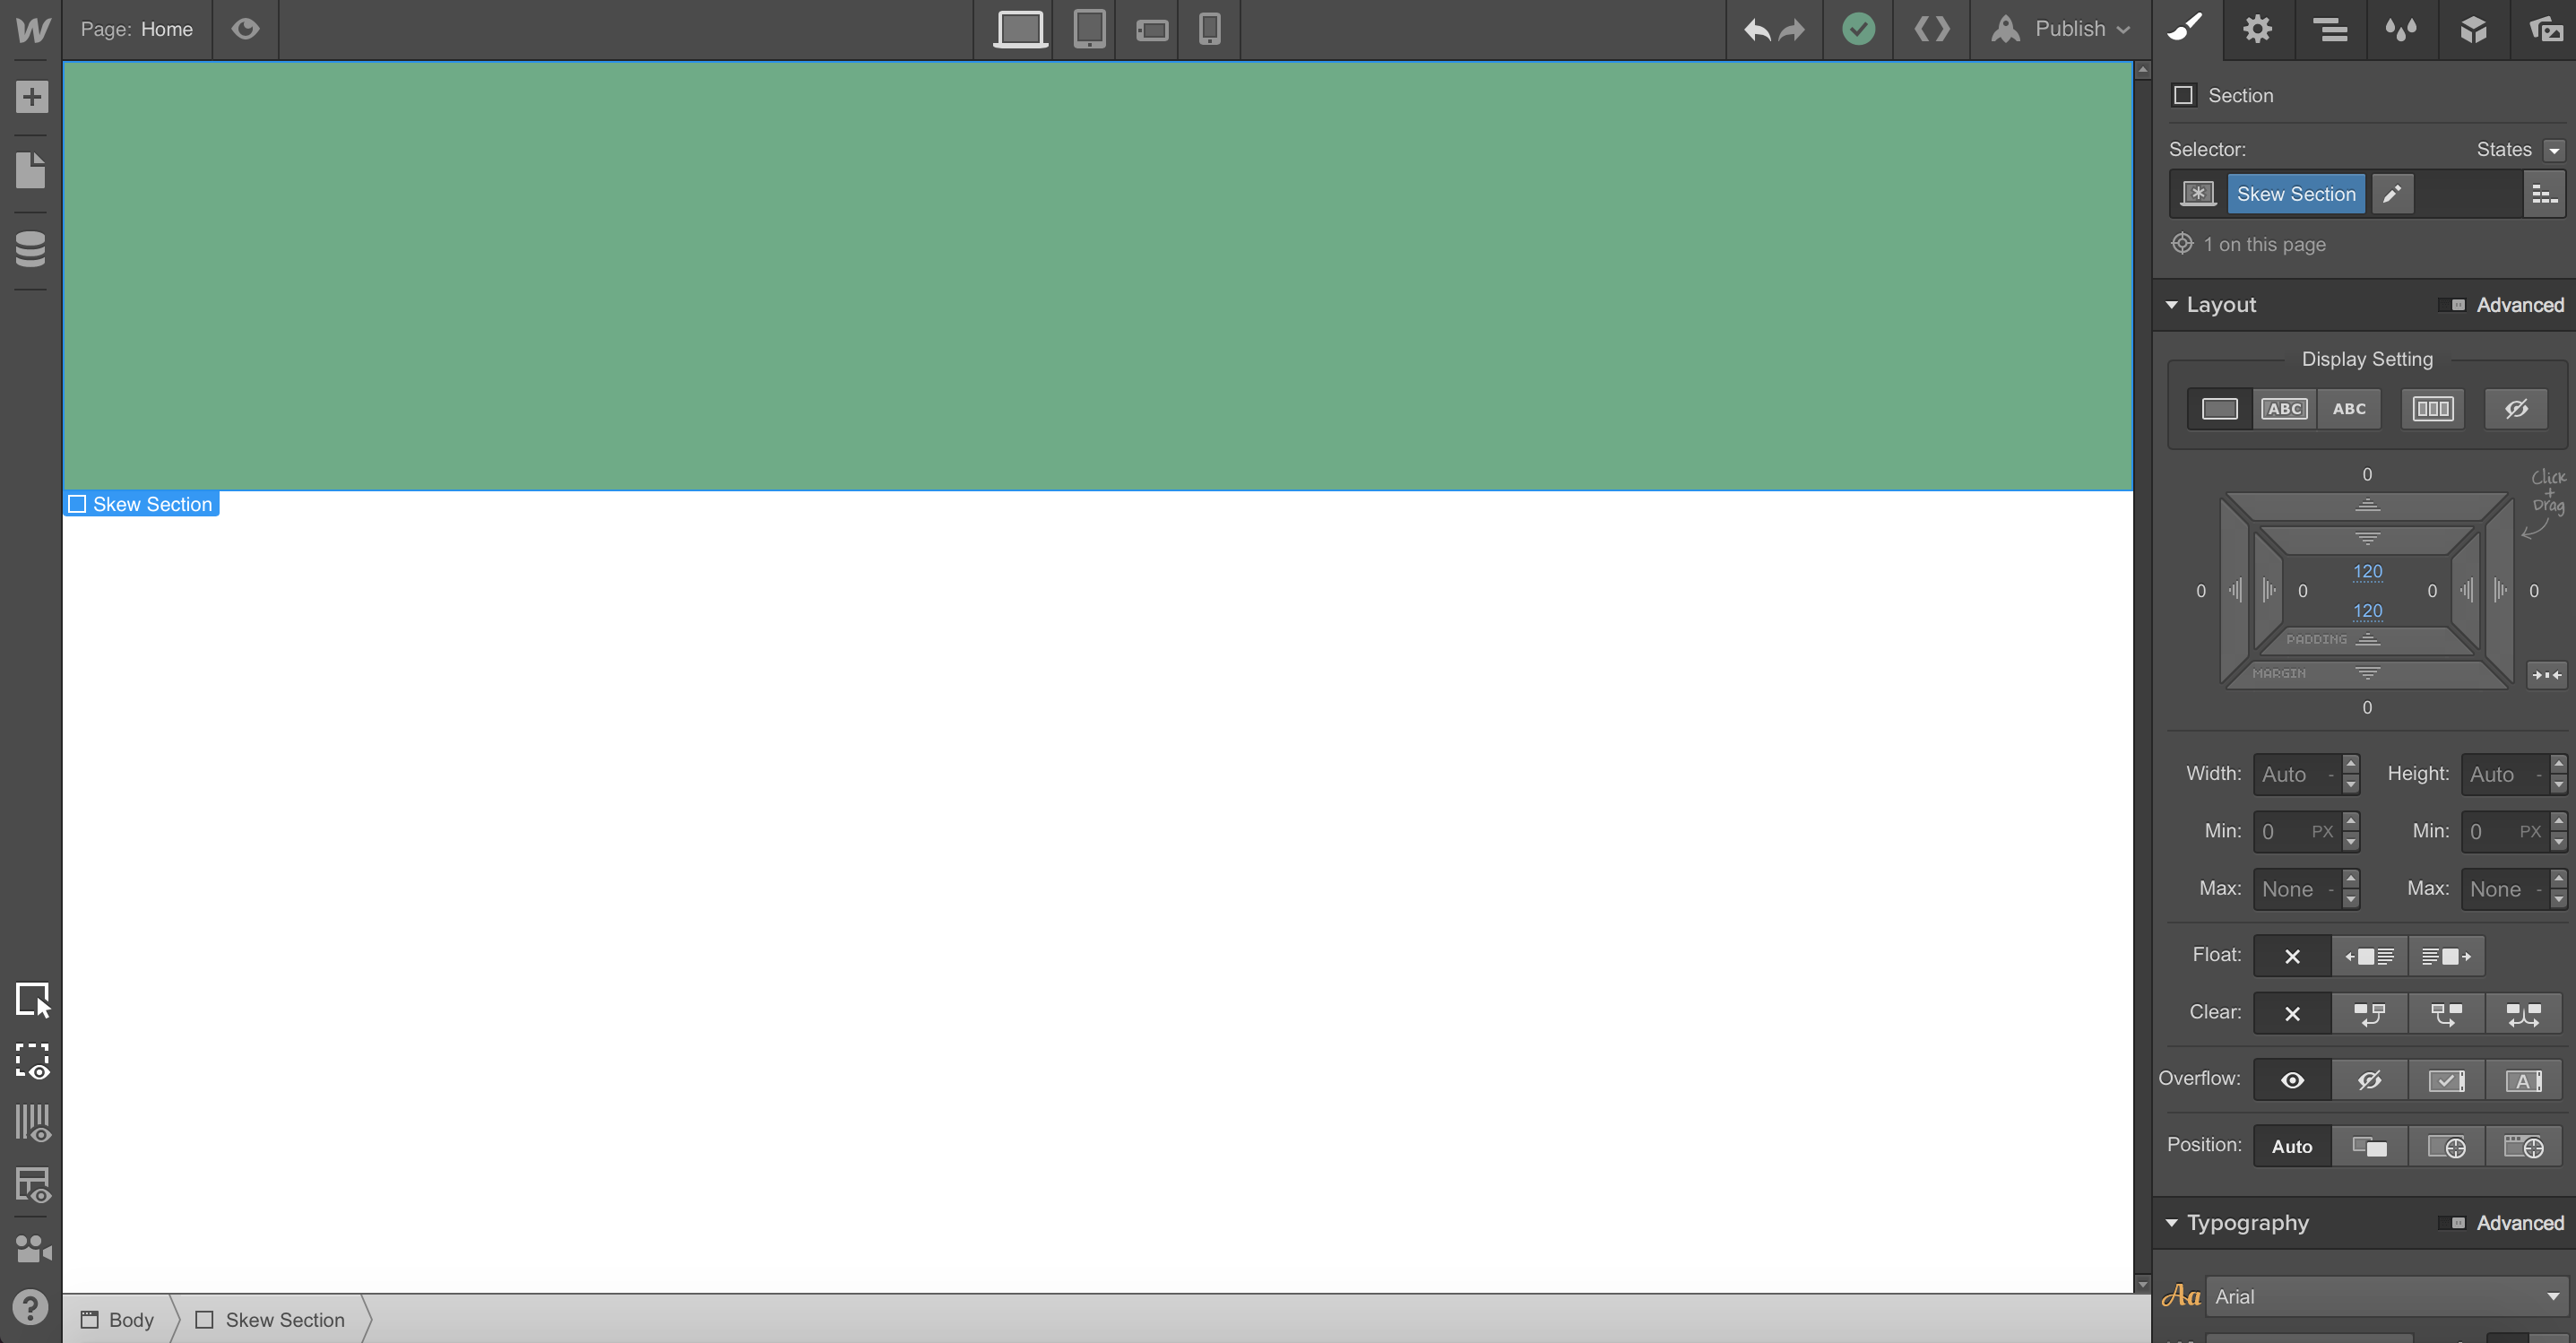
- Add your content into the section. Text, images, etc.

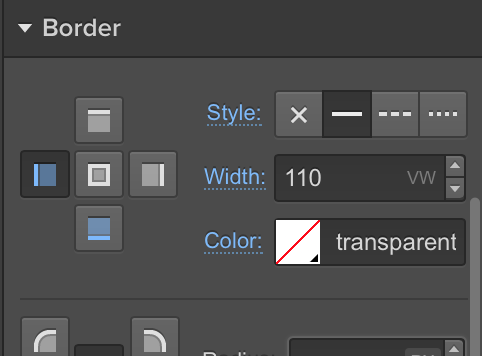
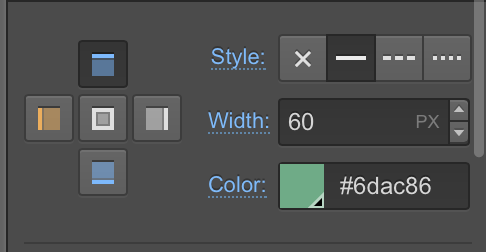
- Build the top skew div by adjusting the border settings and the color. Make sure that the height is set to auto!

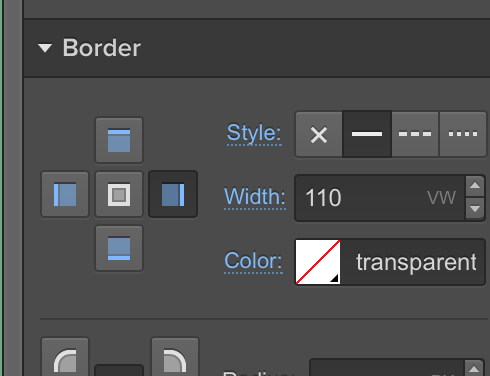
- Now set the left or right border to "Transparent" for color and give it a width of at least 110 VW. This number depends on how angled you want your skew.
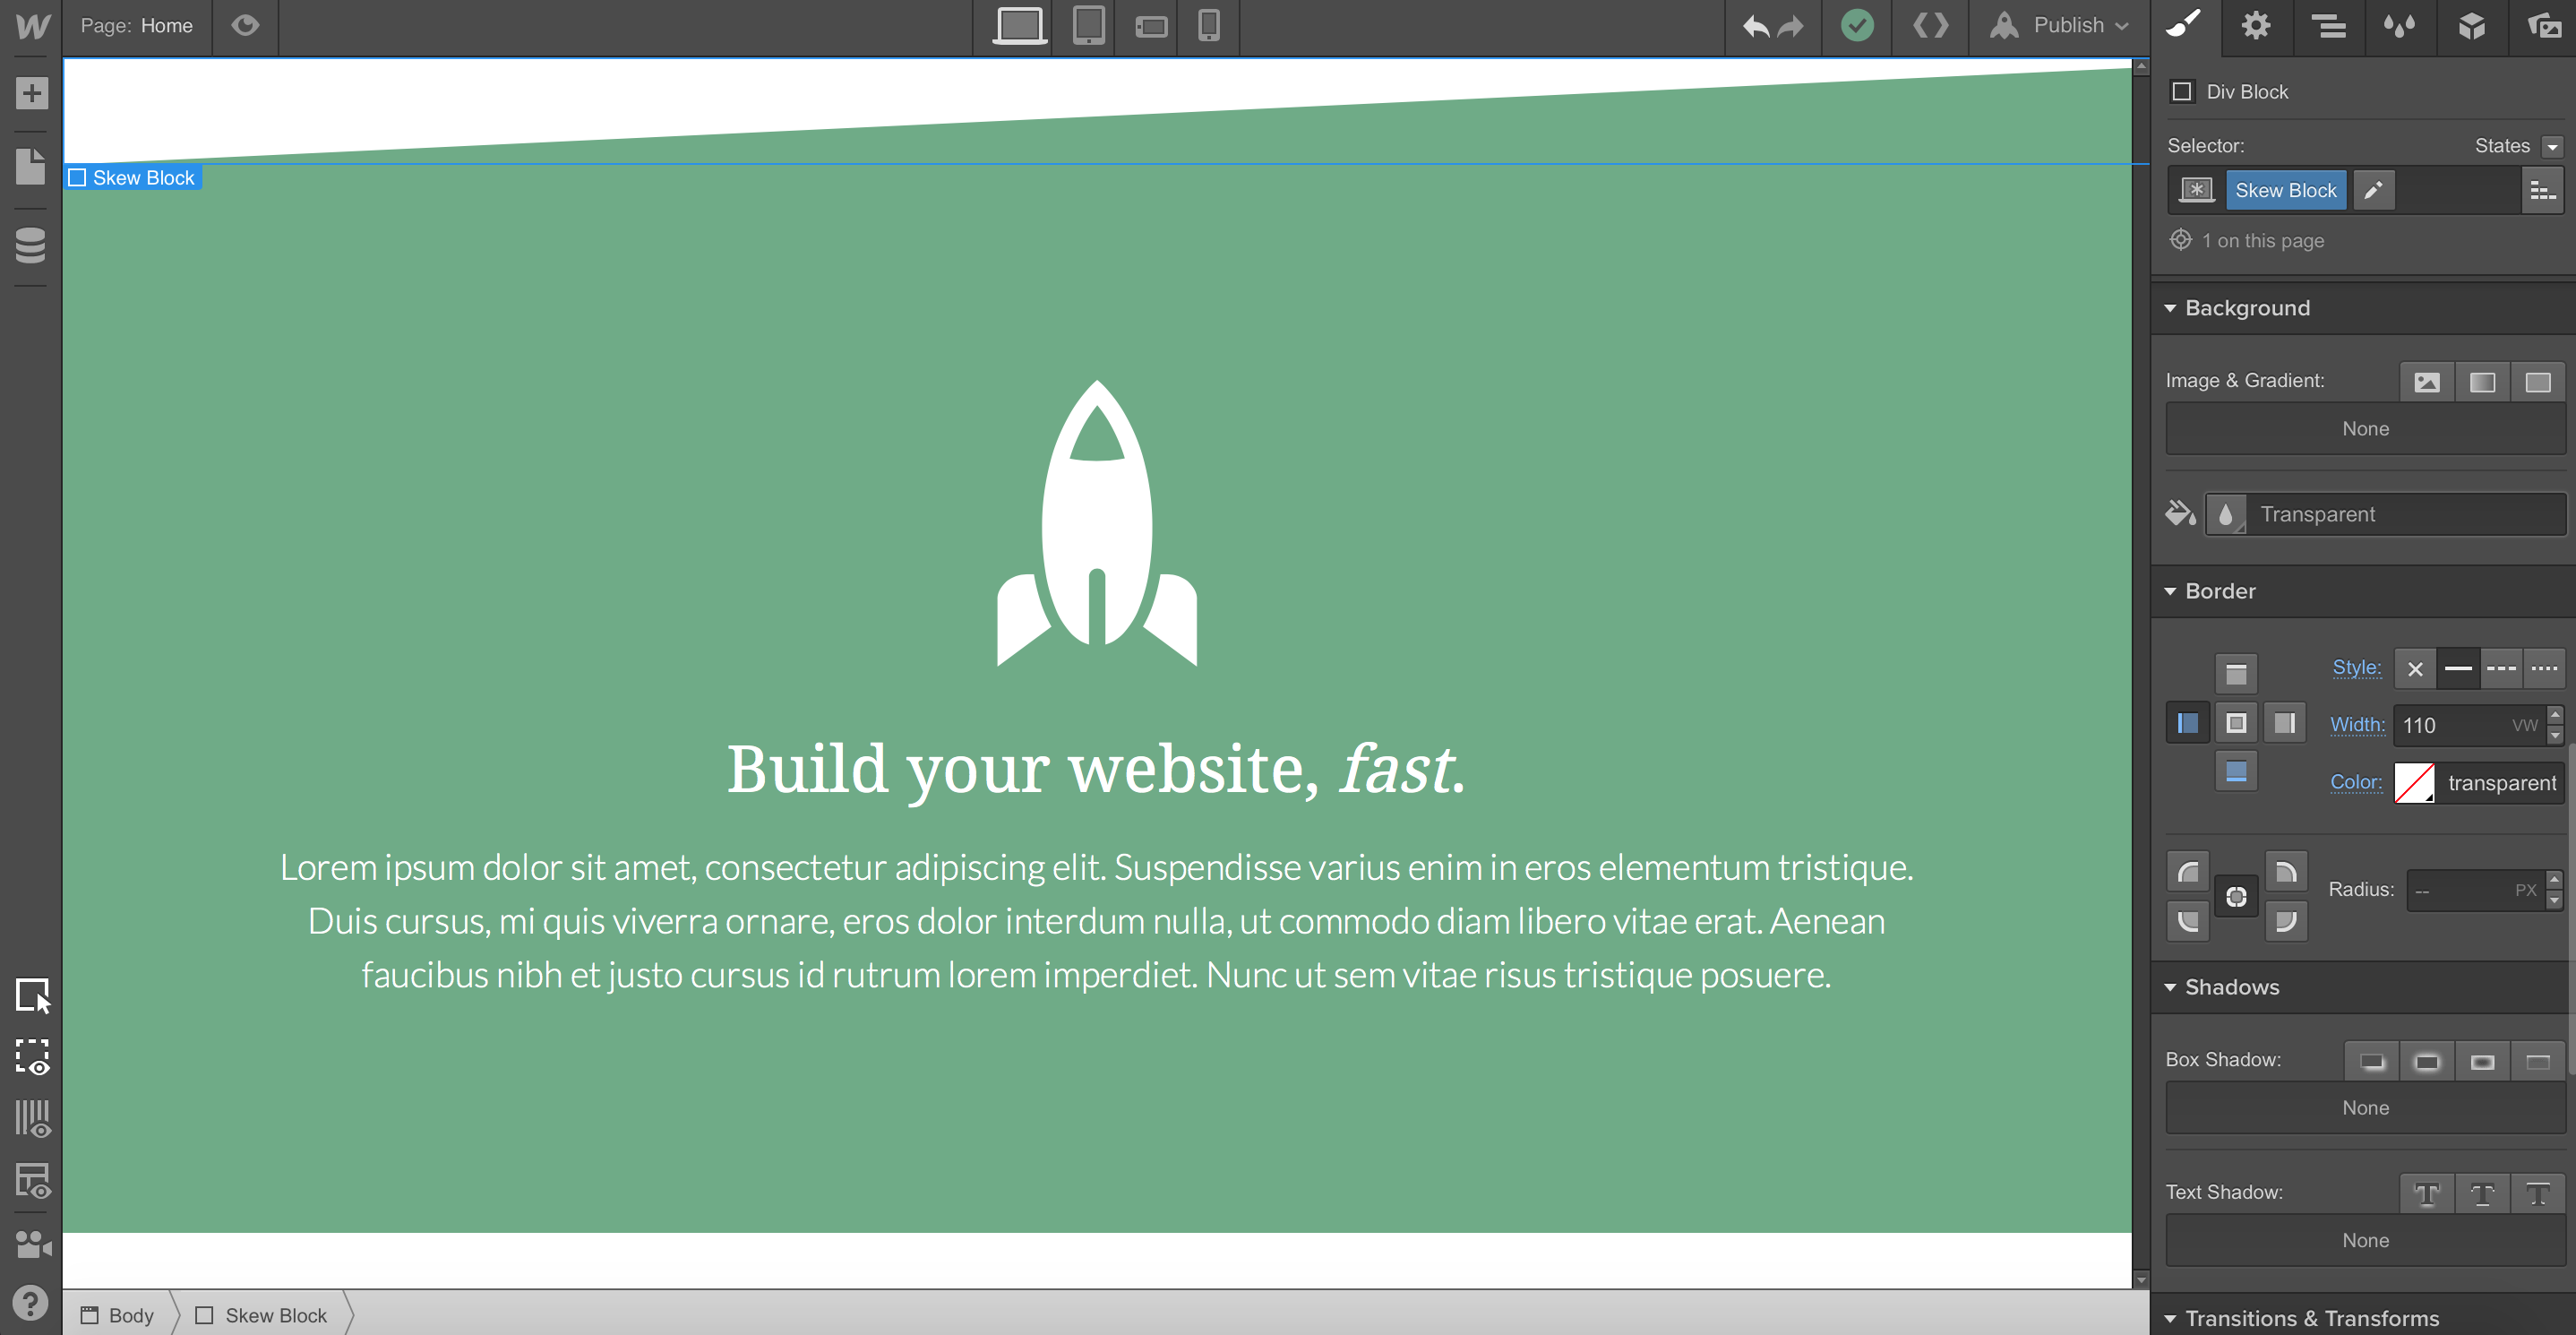
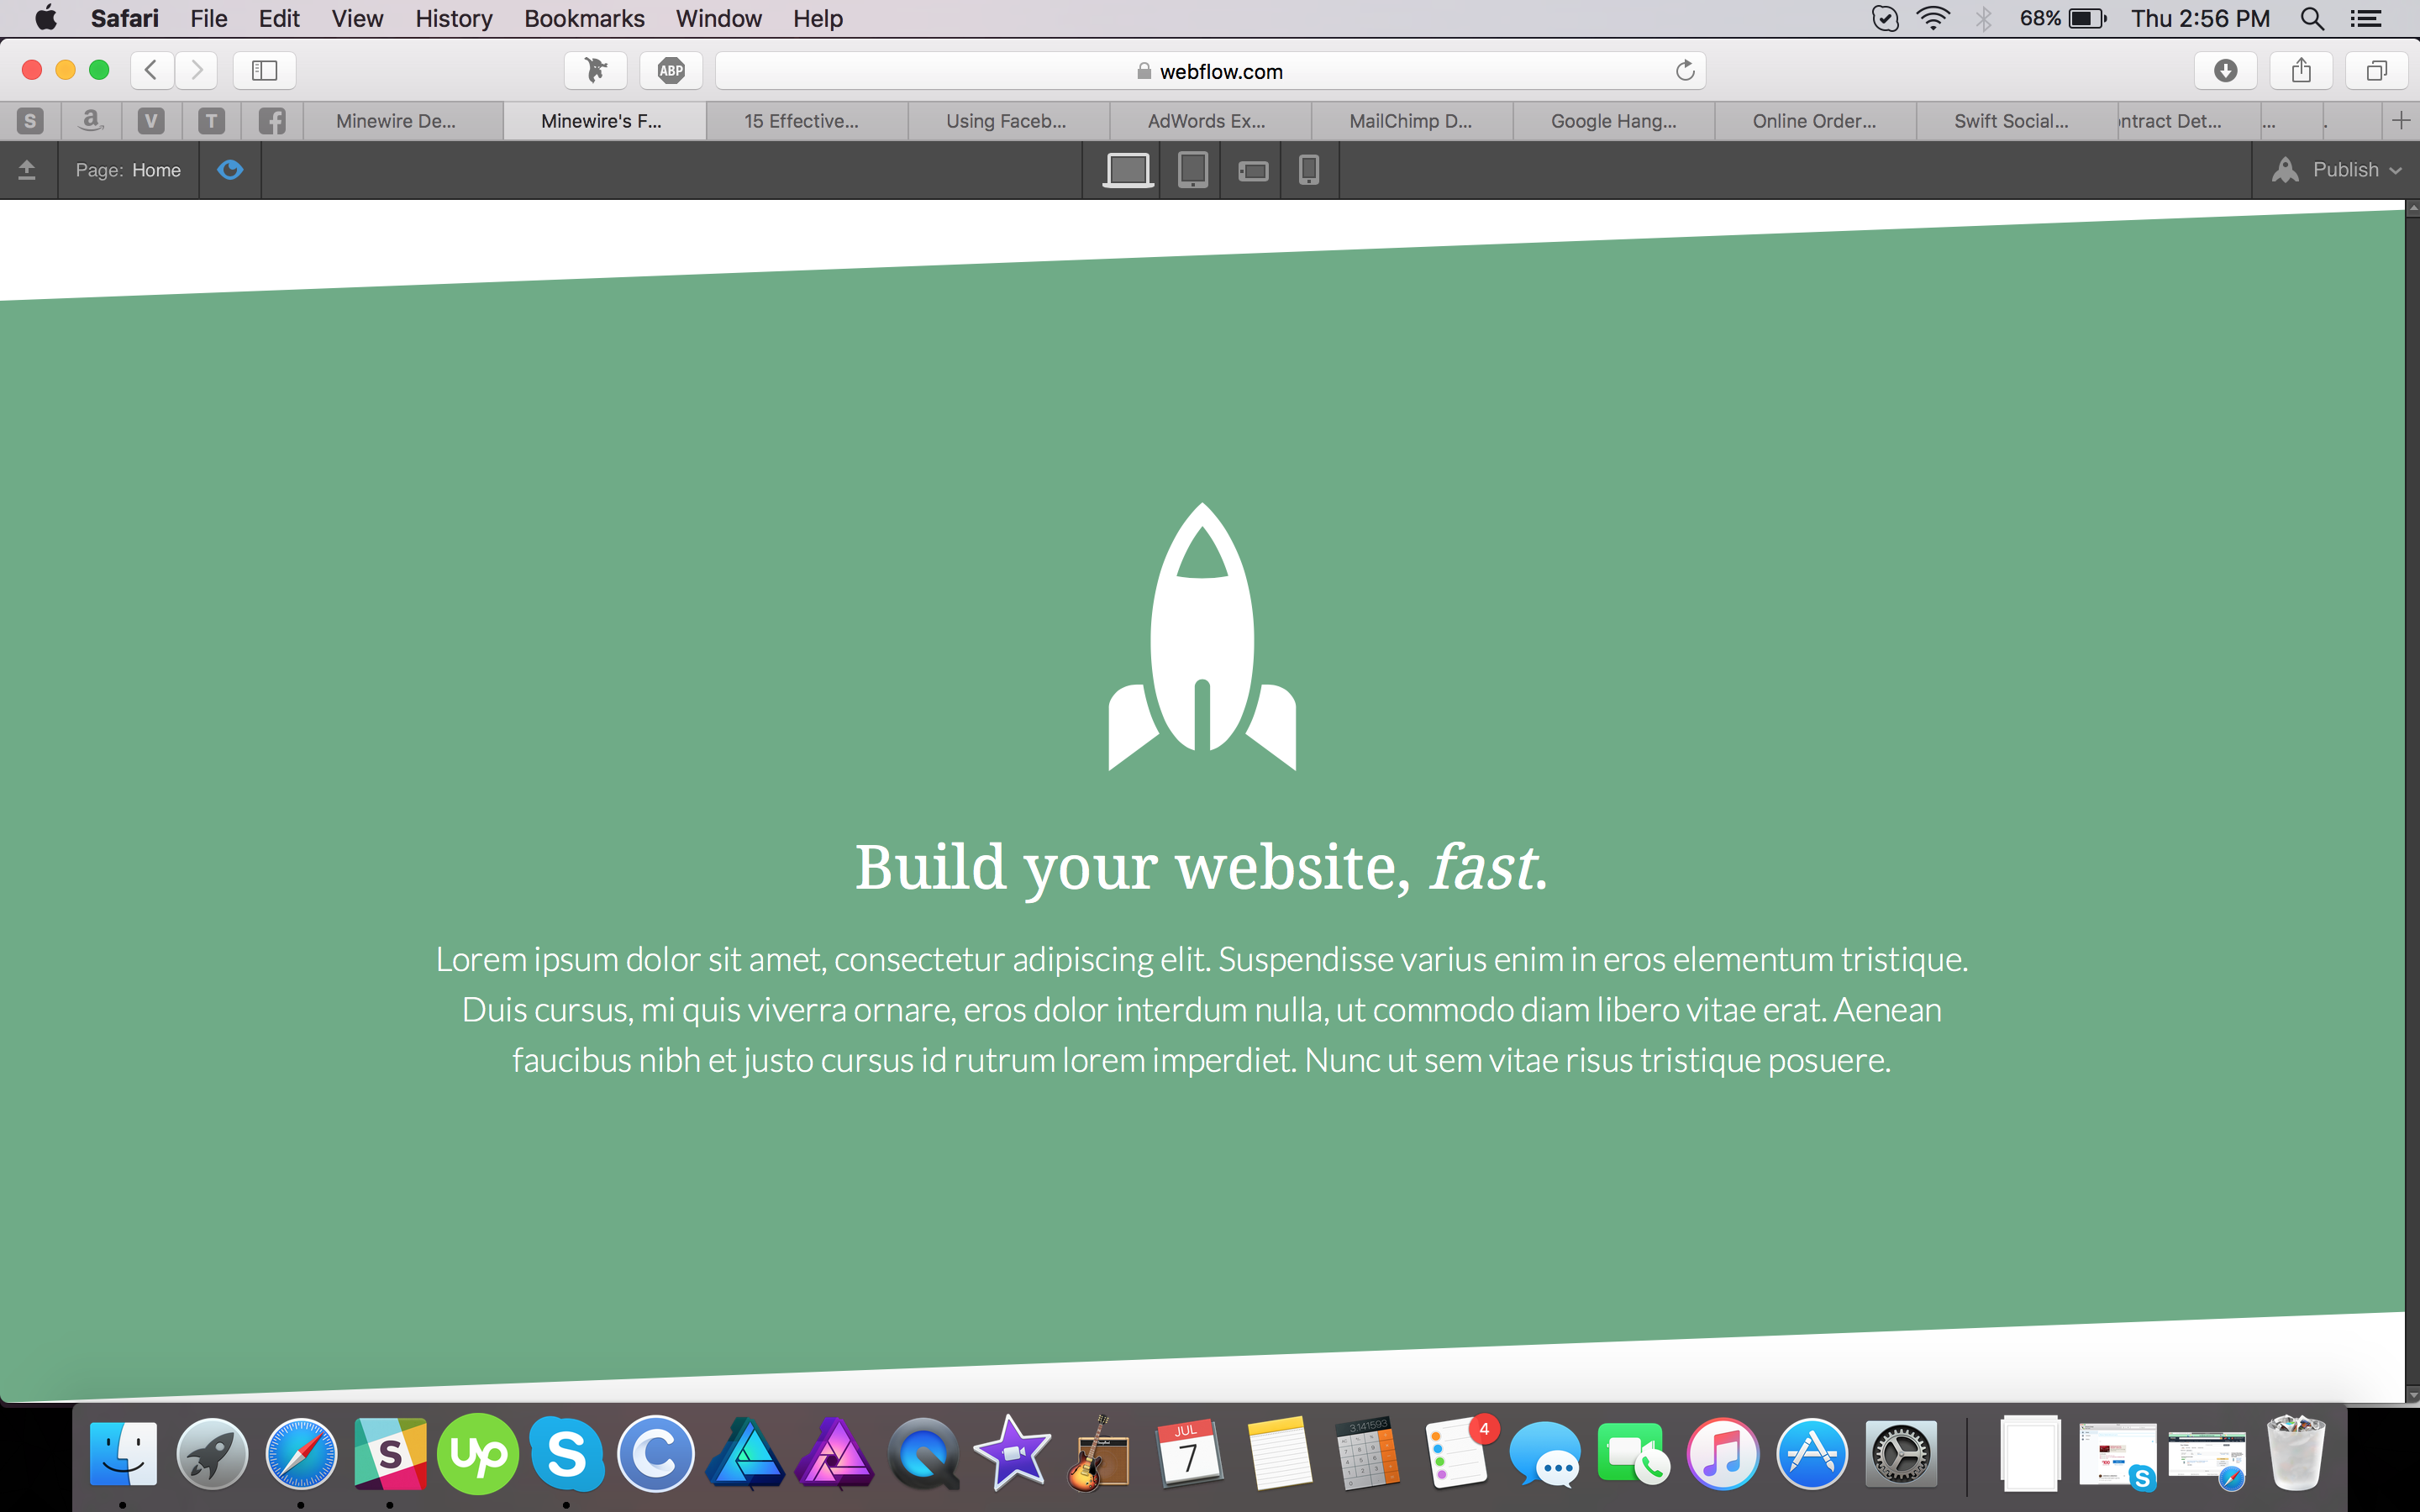
- Your top skew should look like this. Mess around with the border settings if you like!
- For the bottom skew, simply copy and paste the skew block and add a nested class to it at the top of the designer. Then drag it bellow your main section. Call it "Bottom."
- The bottom doesn't look too good. First, remove the style from the bottom border.

- Now you can add the same values from the bottom border to the top border.
- At this point, your design should have a similar layout to this.

- You can actually leave the design like this if you like, but I am going to make it have the same angle as the top border. Turn off the styles for the left border. Now set the right border to the same VW amount that you did on the top skew block. In my case, it was 110VW.
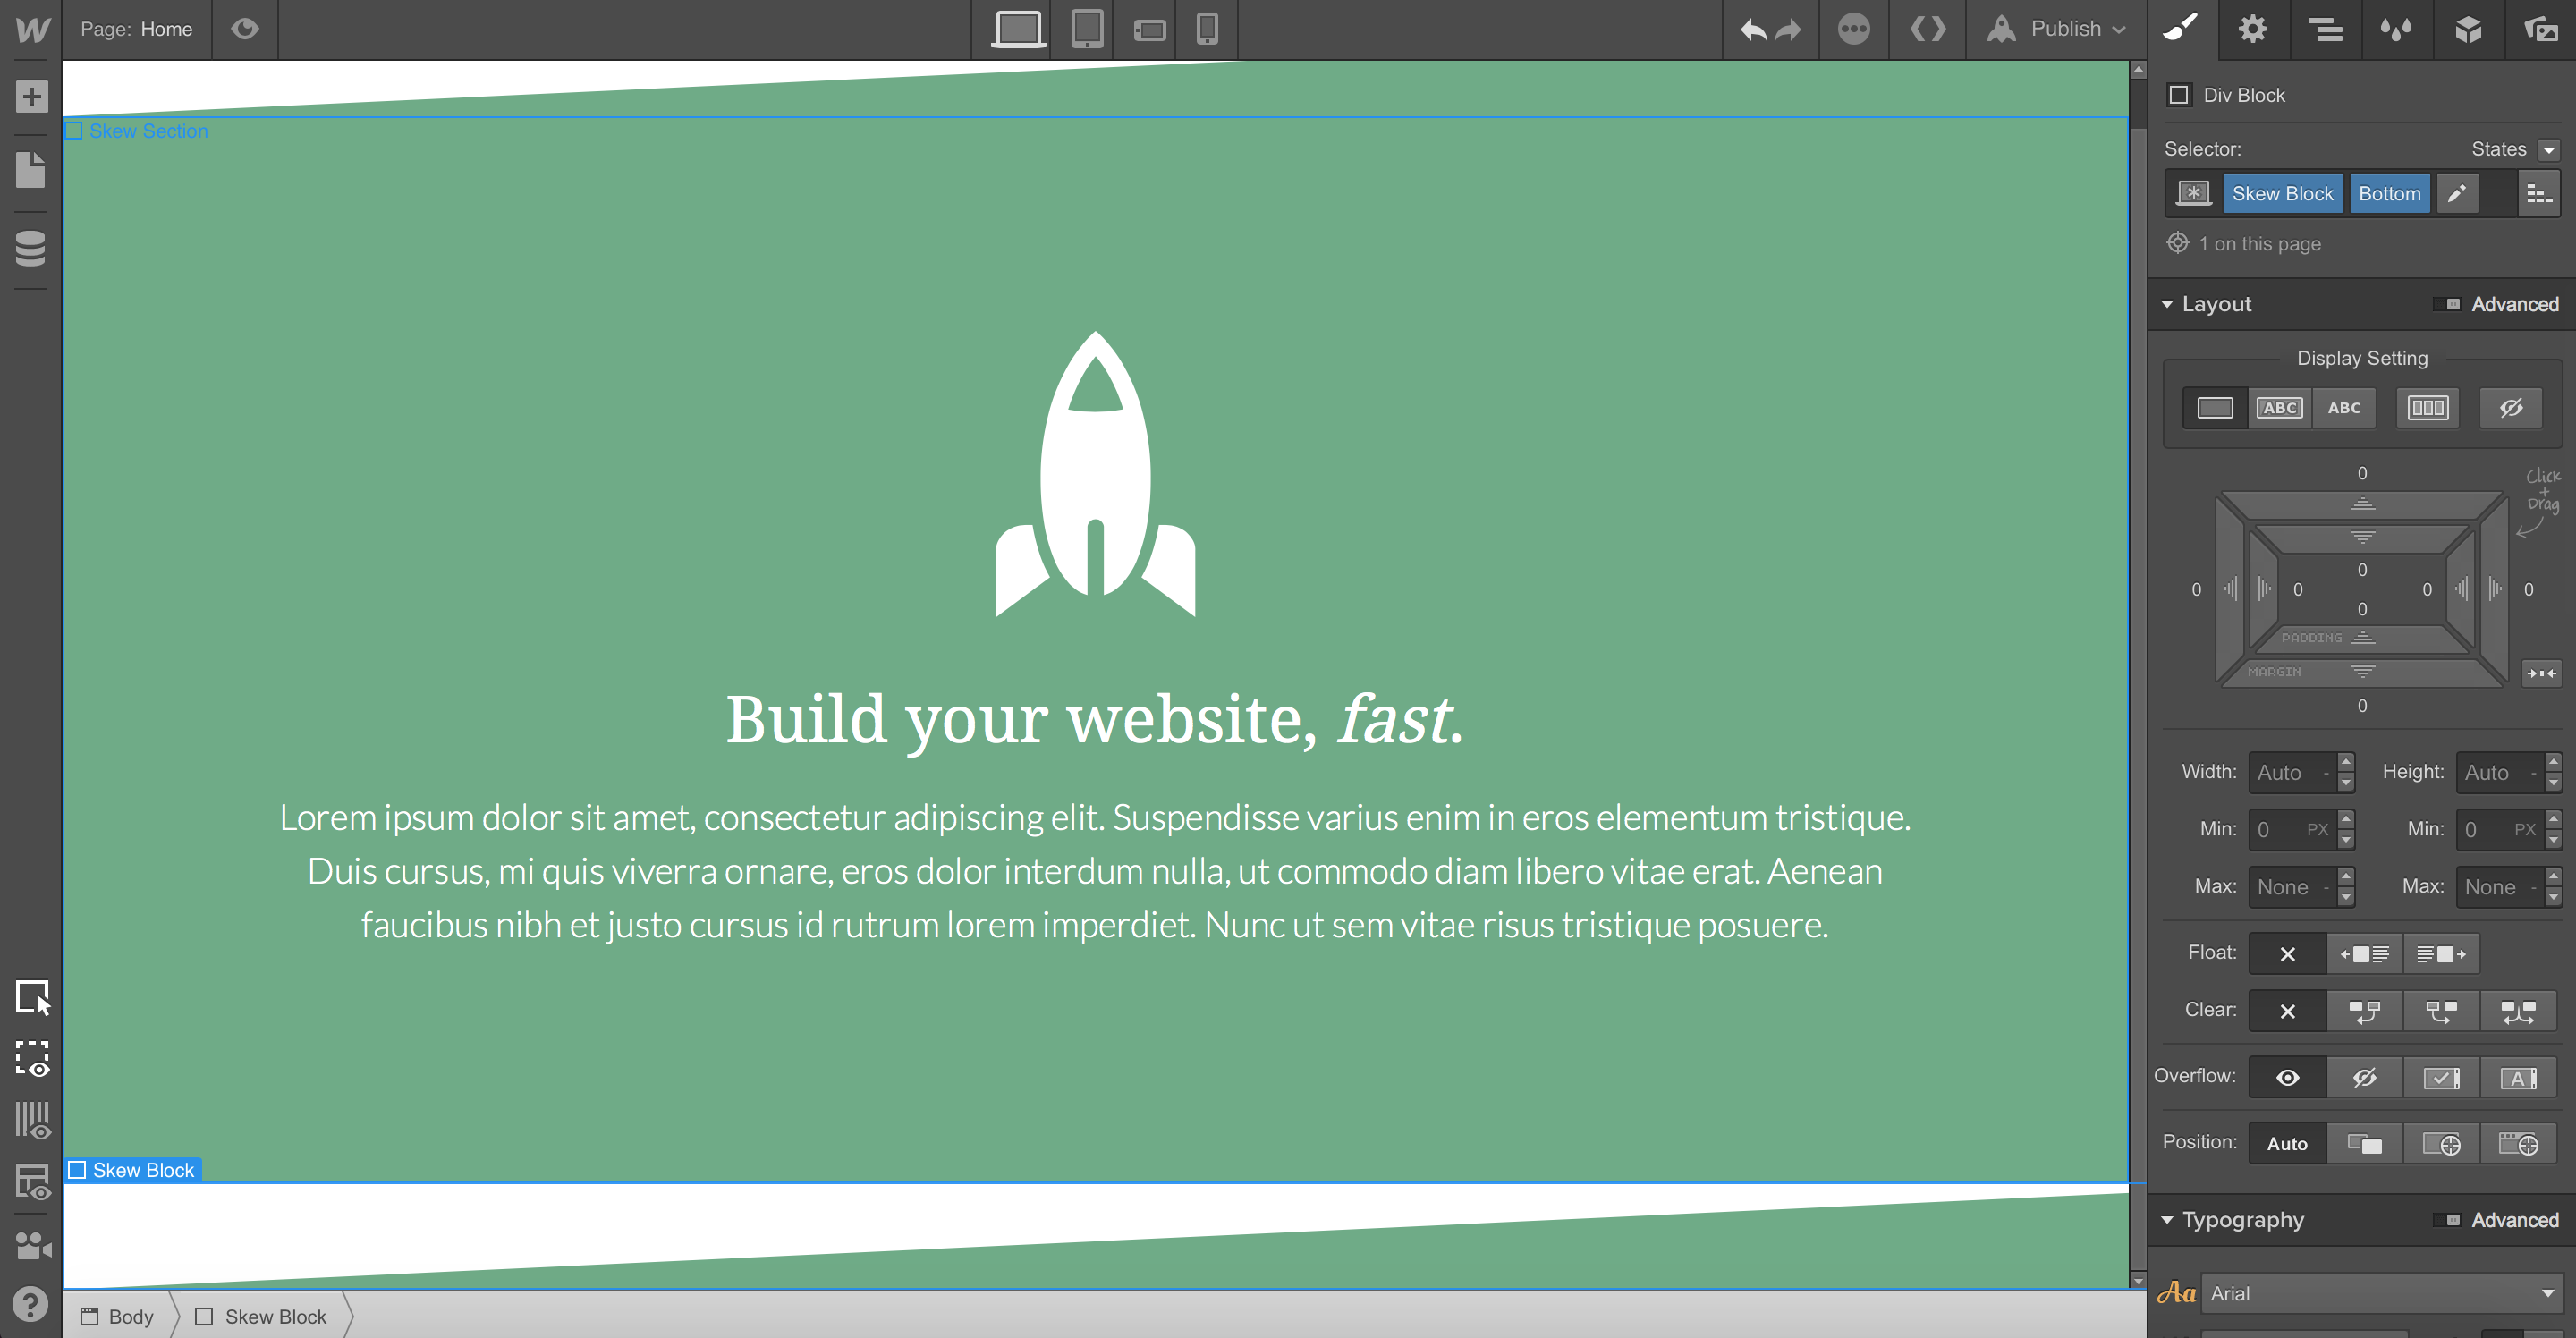
- Hooray! Your design is complete and it should look like this. Feel free to adjust any colors or anything.
Thank you for reading!
Cheers,
Josh
Having website troubles?
Fill out the form on the contact page and I'll see how I can help.